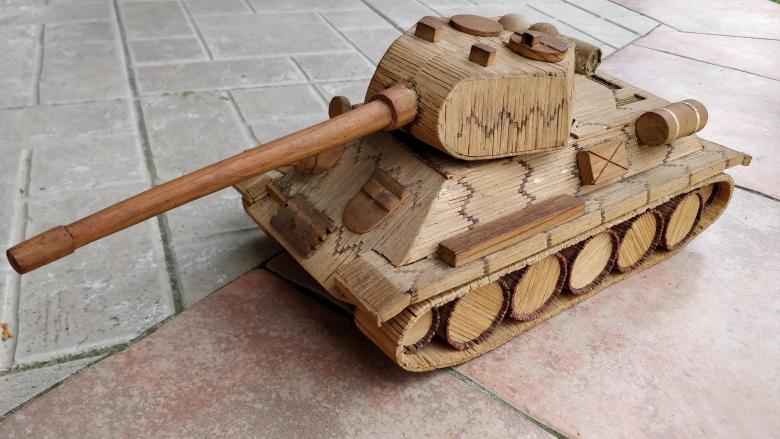
Crafts for ready-made templates
There are many ready-made models, carved from wood or metal, which only a high school student can assemble. You can find ready-made reamers for making military equipment with your own hands. They need to be printed, cut and glued. Thus, you can collect a whole collection of different tank models..


Military vehicle templates for cutting



Parents can realize the stage of printing, both independently and with a child. For example, you can invite him to independently choose the templates of the technique that he likes best..
How to assemble a model of Russian military equipment
Assembling a model of Russian military equipment is not so difficult. To create a model, you just need a little patience, perseverance and materials..
The size of the model will depend on the template and, accordingly, its dimensions.
You determine the dimensions yourself, this is an individual choice..
In most cases, there is no definite sequence when assembling layouts. However, parents should be in control of every step. If the sequence is important, then you need to pay attention to the template, most often there is all the necessary information.

Tanks
The most popular version of domestic military-type equipment has always been, is, and also remains a tank. It is difficult to find a child who would not like the power, the menacingness of even a toy tank!
Indeed, absolutely every boy dreams of a paper model of a powerful “beast”.
It is not so difficult to assemble it, despite the fact that in most of the proposed blanks there are a huge number of small parts. However, it is precisely due to the small details that the child will develop fine motor skills of the hands at a fairly good level. It is noteworthy that in the first version of the tank presented below, the gluing points are quite large, however, as in the second, however, the second tank will look simpler than the one that is located above. Accordingly, in the templates designed to create layouts of tanks, you can find a gradation in complexity..
Detailed diagrams and instructions for assembling models of tanks here.


How to make a volumetric tank out of cardboard
Among the total number of cardboard crafts, the most popular are tanks.
A voluminous product will be an excellent exhibit at a school event, an interesting decor element or a nice gift for dad or grandfather. To complete it you will need:
2 tea boxes of different sizes;
green colored paper;
classic corrugated board and a sheet of dense black material;
glue, awl, stationery knife and scissors.
A step-by-step guide to the process of making a cardboard tank will help you easily cope with the task and do it yourself:
Wrap tea boxes in green colored paper.
Install the smaller box on the larger one.
Cut 8 large wheels from corrugated cardboard and 4 small wheels from black cardboard.
Using an awl, make a hole in the middle of each wheel and put them together: stick the small ones over the large ones..
Attach wheels to main body.
Cut 2 strips of corrugated board and fasten them over the wheels as tracks.
Make a hole on top with a clerical knife and close it with a colored lid.
Homemade shells will help to add realism to the image. Individual elements can be colored and placed on a special cardboard stand.
How to make a tank out of cardboard and paper
To create a tank, you will need 2 main items – cardboard and paper, use as additional tools: glue, scissors, toothpicks. Cardboard is predominantly green, paper can be multi-colored: red, white, black, blue.
The work is carried out in several stages:
Make a body: cut 3 rectangles out of green cardboard, 2 of them are of the same length, narrow and 1 small wide.
Make caterpillars from 2 strips of green cardboard 1.5-2 cm wide and wheels.
Decorate the cockpit from rectangles, for which glue them together in a criss-cross pattern and make a bend. Divide the caterpillars with a square of colored paper, secure with a toothpick.
Make a muzzle out of paper, attach it to the cockpit.
The final touch is the wheels. The tank is ready.
If desired, the craft can be decorated with additional icons, pictures, stars.
Tank
Perfect for school or kindergarten craft contests. A small cardboard box is suitable as a basis, for example, from a computer mouse.

The outside of the box should be lightly rubbed with sandpaper so that it can be easily painted later. When the base is ready, you need to start making the tower. To do this, draw a flat pattern of a rectangle on A4 sheet..

Having assembled a rectangle, you need to cut an even wide strip of sufficient length from the rest of the sheet, roll the tank barrel out of it.

Next, in the front of the cut out rectangle, you need to make a neat hole for the cannon. Having rolled up the tube for the cannon, it must be pushed into the tower to connect the two parts together. Then a small circle needs to be cut out of cardboard; it will serve as a hatch in the tower. In the tower itself, from above, you need to cut a similar circle. Then glue a cardboard circle on the tower with an edge so that it looks like an open hatch.

After that, you need to glue the tower to the main part of the box. Glue medium-sized buttons on the sides, and around them stick a paper ribbon imitating caterpillars. It remains only to paint the product in the desired color, and the handmade military equipment for kindergarten is ready.

Aircraft
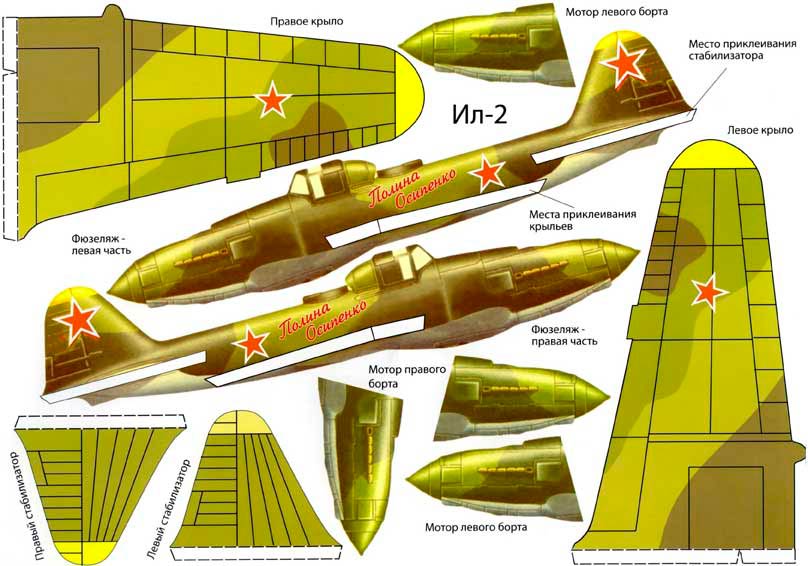
For many years, airplanes have also been considered the most cherished dreams of boys who want to become pilots. It is these guys who have been collecting models since childhood, and if your child is one of them, then you can invite him to collect an interesting model. It is worth putting it on the shelf, thereby starting to collect a new collection..
Building a model airplane is no more difficult than any model. It is only important to adhere to clear lines, which, according to the instructions, must be cut off and not cut into something superfluous..
Absolutely all details are signed and for this reason it is difficult to confuse or swap them..
If you assemble a dense cardboard model, then it will become a pretty decent toy for a child aged 5-10 years. It will be trite for older children to assemble such models on their own without the help of their parents, but the kids will have to help a little..
Detailed diagrams and instructions for assembling model aircraft here.

Ships
If someone believes that only models of aircraft and tanks are the most relevant, then these people are very mistaken, since ships are no less interesting options for creating figures..
Some amateurs only collect ships at all, since a number of collectors are of the opinion that they are much more interesting and fun to collect..
At least in the models of ships there are certainly more details than in the models of aircraft and tanks..
Regardless of the age of the child, the help of parents in assembling the ship will definitely come in handy..
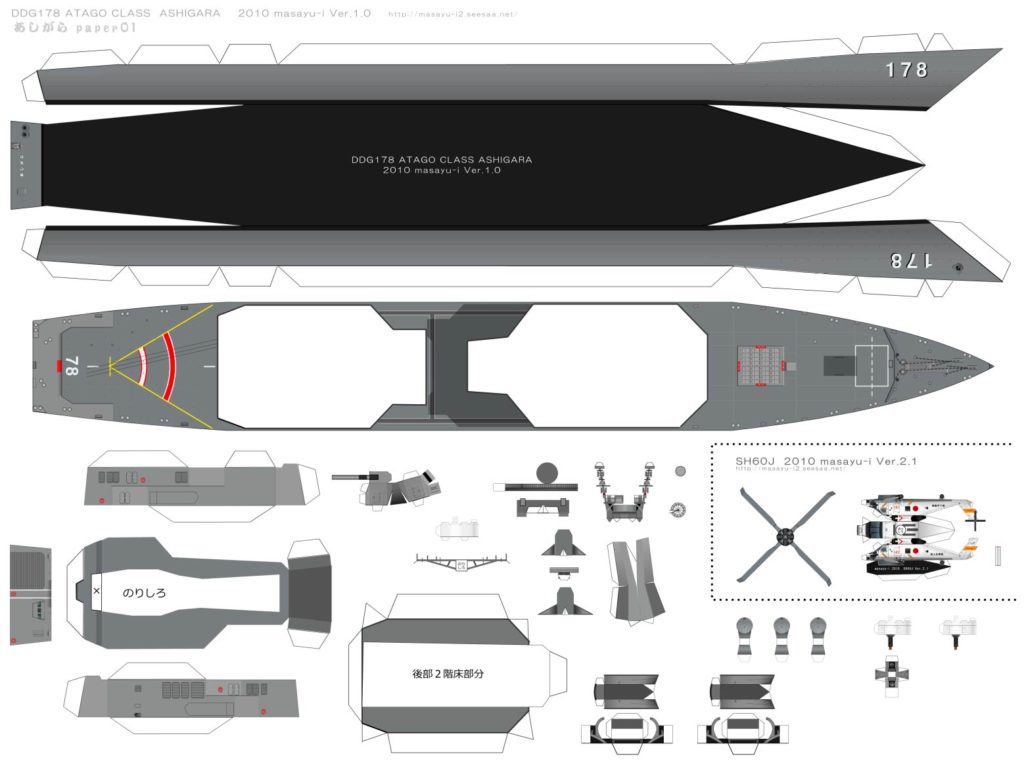
If a tank or an aircraft could be assembled from loose paper, then the ships are best assembled from cardboard or compacted paper. In this case, everything depends only on the capabilities of the printer, what kind of paper weight it can take in..
This clarification is connected with the fact that, as mentioned earlier, a huge number of parts are present in the assembly process, respectively, the less dense the parts, the more difficult it is to attach them to the ship’s hull without damage.
Trucks and staff vehicles
Trucks and staff vehicles can be considered more likely to be some addition to the rest of the models, rather than independent mock-ups of military equipment. However, for young children, they will be just as such. Such models are most convenient for children to assemble, since they contain large parts, and there is no need to assemble something small..
Such models will look quite simple, but at the same time interesting, especially if they are in color..
Detailed diagrams and instructions for assembling truck models here.
As well as on other models, on the models of trucks and command vehicles, it is worth considering all the joints that are on the template. It is due to the joints that all the parts will be connected and for this reason it is important to ensure that the child does not cut off something unnecessary. Otherwise, the entire model will become unusable..


Collecting any models from ready-made templates is in any case interesting and exciting. The advantage of such models and crafts can be called the fact that you can create some kind of additional blanks. It is enough just to take one of the templates suggested above and use it for its intended purpose..
As mentioned earlier, an interesting option can be to print a black and white template and then paint it with felt-tip pens or paint in finished form. In addition, you can try to decorate the model, but at this stage it is worth remembering that the models are quite serious figures, for this reason they cannot have any rhinestones or flowers.
In any case, each craft created with the child will remain a wonderful memory from childhood, which in the future can have a beneficial effect on the fate of the child. Who knows what the baby will be in the future?

Along with this, the creation of crafts contributes to the development of all kinds of abilities of the child, as well as the development of his imagination. Yes, and it is banal to spend an evening with a child for the activity that he is truly interested in and seems to be fascinating..
Rifle
The classic machine in the hands of boys in all games is the Kalashnikov Assault Rifle. It is extremely simple to make it. Initially, you need to take a large sheet of chipboard. On the chipboard, you need to draw the rifle itself, its outlines. Next, using a regular wood hacksaw, cut the rifle along the contour.

Next, you need to add volume to the craft. For these purposes, corrugated cardboard is perfect. Parts for the machine gun are cut out of it, such as the fore-end, butt, magazine, pistol grip, rear sight with front sight. The cardboard trunk does not need to be cut.

Further, when the parts are cut out, you need to stick them on the outlines of the machine made of chipboard. Thus, the machine will acquire volume and become more realistic..

Gun
One of the easiest military-themed crafts that you can do yourself. You can use the method outlined above, or make it even easier, immediately start assembling from cardboard parts.

Please note that in this case the craft will be fragile, so it is recommended to cover it with putty on top to give hardness.

For crafts, you will need to cut out the reamers of the shutter and the pistol frame with the handle. Further, when they are cut, you need to bend them and glue them in such a way that you get solid parts..

Next, you need to glue them together, let them dry. Apply the putty in an even layer, align all corners and borders, apply some elements for the entourage: front sight, rear sight, ribbing on the shutter. When the putty is dry, the toy can be painted to give it a more realistic look..

Installation
Do-it-yourself crafts for a school on a military theme, you can create a whole installation from existing crafts. It is recommended to use a thin, medium-sized board as a base. Place several crafts on it, imitating an event or battle. Smoke can be added with cotton wool, distributing it evenly throughout the installation.

Making a military-themed craft is easy, you just need a little free time and a few materials (cardboard boxes, plasticine, paper, glue and paints).
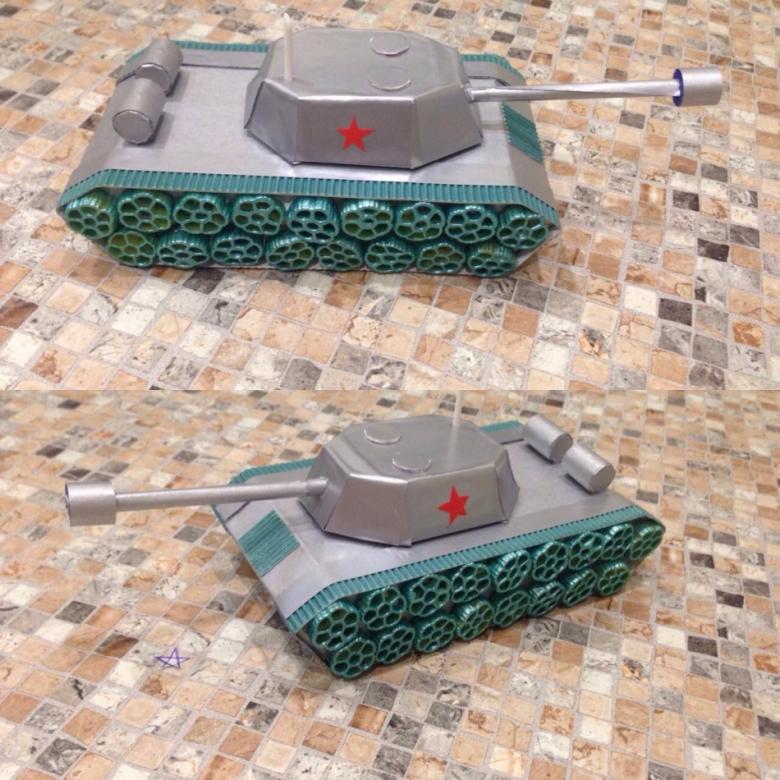
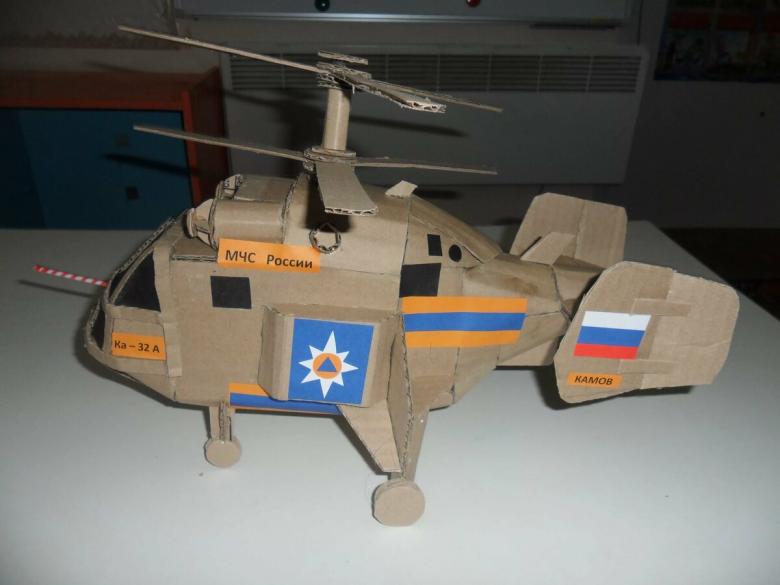
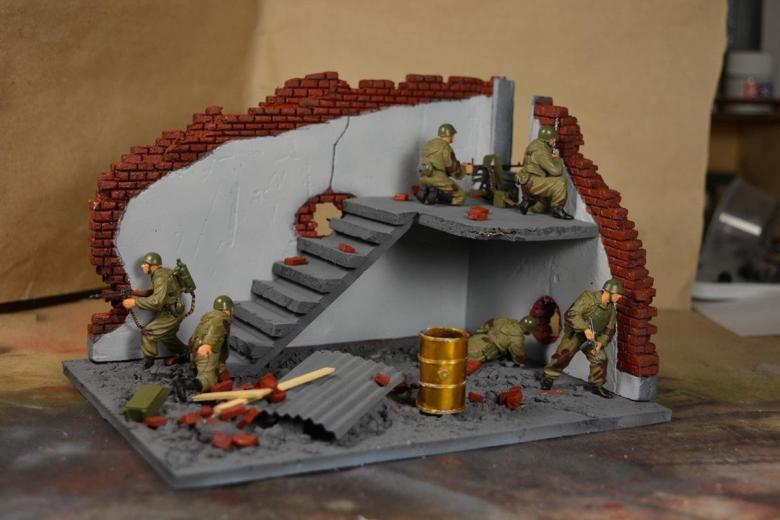
Photo ideas for interesting crafts on a military theme







Crafts of a military theme from plasticine
Not only children, but also adults are fond of modeling. In babies, it develops motor skills and forms many skills. The child develops perseverance, attentiveness and correct perception of the world around him with all proportions and characteristics. Such an activity helps to fantasize and has a beneficial effect on the psychological and aesthetic development of the young master..
Plasticine is the most convenient material for children’s creativity. It is environmentally friendly and safe for human health, making it great for babies. Children themselves like to sculpt. From this plastic material, you can make a bunch of crafts: dishes for dolls, a house or a magic castle, soldiers and even make a plasticine tank or any other fighting vehicle.
Plasticine is especially relevant in military topics. This is the most convenient and simple material for sculpting..
The advantages of plasticine:

It is easy to mix for a wider range of colors.
- It possesses such qualities as elasticity and high plasticity..
- Plasticine is completely environmentally friendly and harmless material.
- Suitable for any kind of creativity, that is, it is universal.
- Practically does not get your hands dirty, which is very convenient.
To sculpt military equipment, especially if you approach it professionally and make high-quality crafts, you need to make very small parts. If you use clay or gypsum, it is not always possible to achieve the desired result..
Therefore, plasticine is the most suitable material. And besides, how the model will be made, it does not need to be additionally processed and covered with any paints, since this material already contains them, and other colors are not needed.
Interesting crafts from plasticine
Plasticine is an amazing material, and it is very easy to make friends with it. Improving creativity, developing fine motor skills, patience and perseverance are far from all the advantages of sculpting crafts from plasticine. And how much joy the process of creating various figures from plasticine brings!
Plasticine toy soldier
Every child has plasticine, and besides, it is quite simple to create something from it. Let’s see how to make a handsome soldier. First you need to decide on the color of the form. Having chosen a color, you need to take a little plasticine, make an oval, with a slight extension on one side. It will fold over the body, and the widest side will indicate the shoulders..

Next, you need to make the legs. To do this, roll 2 identical plasticine sausages with a thickening on one side. The thickened part will represent the thigh, it needs to be connected to the body. It remains to make the arms and head. With the head, everything is very simple, you need to roll a ball of flesh-colored plasticine and place it on the body. Then, taking a little different plasticine, to match the color of the soldier’s uniform, mold a helmet on the head.

Hands are made in the same way as legs, only slightly thinner, but with thickenings on one side. The sealed sides must be attached to the body..

It remains with the help of a toothpick to add details, such as the seams on the clothes, mark the buttons. Ideal if you have a small weapon from a toy soldier. It can be handed over to plasticine, for more entourage. If there is plasticine left, you can build an environment for crafts from it, it can be a shelter, walls, rubble.

How to mold a plasticine rocket
Plowing the vast space is not every little boy’s dream? Let’s take it one step closer and make a bright plasticine rocket.
You will need: multi-colored plasticine, a special plasticine knife and a sculpting board.
1. From a small piece of plasticine, make a ball, for example, blue.

2. Now make the ball somewhat elongated with a sharp end from one side.

3. Attach a thin plasticine strip to the “nose” of the rocket and at the base of the flying unit.

4. Now let’s make two circles from plasticine: a small one and a bigger one. Flatten them and attach them to the rocket. These are the portholes.

5. Great! Now make three identical plasticine triangles and place them symmetrically around the rocket body. So the aircraft will not fall.

6. After mixing small pieces of yellow and orange plasticine, attach a fire flame to the base of the rocket. It will notify that your rocket is ready to go on an unforgettable journey around the Earth..
See also: Is it possible to grow cucumbers on the balcony: variety selection and care features

When the toy is very cool (for example, in the refrigerator), sit the little man on the rocket, and go!
Do not forget to show off your new plasticine product in kindergarten or school. I’m sure your friends will also want to have an unusual plasticine souvenir toy.

But if you understand the master class for you – sheer boredom, watch the video “How to mold a rocket from plasticine” and please everyone around with plasticine masterpieces.
We sculpt a bicycle from plasticine
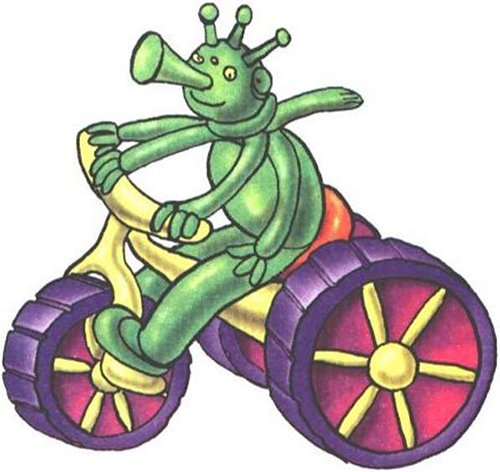
I don’t know about you, but I love colorful plasticine compositions. A plasticine tricycle will effectively complement your homemade ensemble and will definitely please your friends. And if you also put a toy alien on it, which allegedly flew to you on a rocket that we made above, there will be no limit to the joyful surprise of your guests.
You will need: multi-colored plasticine, a special plasticine knife and a sculpting board.
To work!
1. Blind two balls out of plasticine and flatten them into two cakes. These are future wheels. Download thin sausages from yellow plasticine, make knitting needles from three such sausages. The ball in the middle of the spokes is the hub. It is enough to make the spokes on one side of the wheels.

2. The front wheel is made in the same way, but note that it is smaller than the other two and must have spokes on both sides. Wrap all wheels with plasticine strips with notches made with a plasticine knife.

3. From yellow plasticine, make the upper part of the bike, namely the fork into which the front wheel is inserted. Drawing will help you to do it right.

4. Insert the front wheel into the fork. Peel back the ends. These are the pedals.

5. And now, from the same yellow plasticine, mold a kind of carrot and connect it with a fork. Like this:

6. From the thick side of the carrot stick two large wheels, and insert a small seat between them.
7. There is very little left: to mold a steering wheel from a thick plasticine sausage and a flashlight from a red or orange ball.

That’s all! Now blind a funny alien and put him on a bicycle – let the space alien ride on earth transport.
Or maybe you want to make a two-wheeled bicycle? The video will tell you how to mold a bicycle from plasticine. Great transport for your favorite doll or soldier!
How to mold a steam locomotive from plasticine
A lot of pleasure for young craftsmen is brought by modeling a train from plasticine, mastic or polymer clay. See how quick and easy it is to make a plasticine train. Such a plasticine craft will be a wonderful birthday gift.

You will need: plasticine, mastic or polymer clay, a sculpting board and a special knife. Optionally, you can decorate the train with beads, decorative stones, etc..
1. Blind three green bars from plasticine. These are the components of the train.

2. Roll out the blue plasticine into a wide strip and cut out details: windows, wheels, etc..
3. The trailers will consist of a bar and four wheels.

4. It remains only to collect all the parts of the train together and decorate it.
Ur-ra! The plasticine miracle train for long journeys is ready. Congratulations, you did a great job.
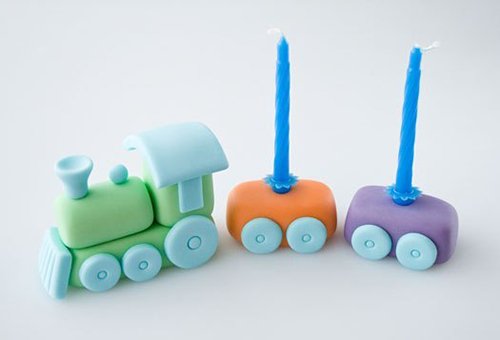
For a step-by-step diagram of making a train from plasticine, see the next video. A funny cartoon online will show you how to mold a plasticine train.
Ships made of plasticine and nutshell
But that’s not all, because the boat can also be made from plasticine, toothpicks, threads and coins. True, this work will require much more of Your time..

The next colorful boat is very easy to make! Make a trough out of blue plasticine. Wrap it with a thin yellow stripe on top. Make a triangle sail out of a red plasticine circle. Attach it to the body with a toothpick or candy stick.
You can decorate the boat with wavy braid, decorative stones, any cereal, or plasticine figures made with your own hands.

We sculpt a helicopter from plasticine
All those with a sweet tooth will like to sculpt this helicopter, because to make it you will need not only plasticine, but also a container from “Kinder Surprise”. Ready to go on a plasticine helicopter trip? Flew!
Please prepare: plasticine, case, modeling board, stack.

1. Blind a carrot from a half of yellow plasticine (or any other that matches the color of the case). Fold the thin tip up and glue the sharp tip to the container. This is the tail of the helicopter.

2. Blind a long flagellum from a quarter of a blue plasticine bar, flatten it and make a windshield for the helicopter cockpit.

3. On the other quarter, make 4 windows and also glue it to the helicopter. Additionally, make a stand for the helicopter. This is how it should look:

And now, from brown plasticine, blind four flagella – two long, and two more short. Flatten them and glue small ones perpendicularly to the tail, and from large ones make a large screw and glue them to the top of the cabin on a small plasticine pillow.

Good job! The helicopter is ready to take you to the most distant mountain peak, where the plane will not land, and where the train will not reach.
Plasticine is the best educational toy. It is easy to correct it if irregularities appeared during creation and turn it into a completely different figure. I hope you enjoyed traveling with plasticine transport together with Pustunchik, and soon you will have a whole collection of plasticine crafts at your home..
And finally, a little advice from Pustunchik: to create plasticine products, choose rich, bright colors – let your game be fun, full of unforgettable emotions and impressions.
Plasticine tank
Young children love to sculpt from plasticine, because this material is bright, plastic and can take any shape. Any child, even a very small one, can make a craft from plasticine a tank..
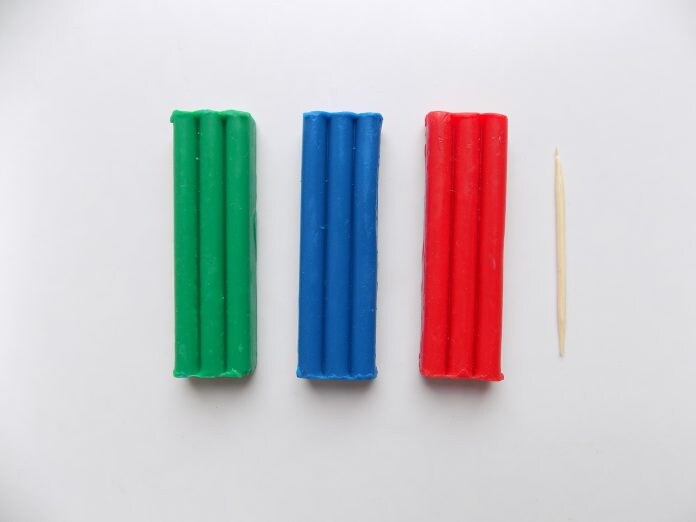


To save plasticine, we can use a small box, such as a matchbox and a plastic soda lid. They are wrapped in a thin layer of plasticine. Or we sculpt all the details from a single piece of green plasticine.

How to make khaki plasticine
As a rule, children’s crafts tank are molded from bright green or blue-green plasticine. But if we want to achieve more authenticity, you can mix green and brown plasticine, so we get a military khaki color.

We sculpt the chassis of the tank
First, let’s sculpt the chassis of the tank. Let’s roll ten identical balls of black plasticine, and four identical balls, smaller in size. With your finger we flatten them a little, turning them into flat cakes, and with a stack we draw lines like knitting needles on wheels. We lay out on the table two sets of wheels in one line: in the center, five large ones and two small ones at the edges..
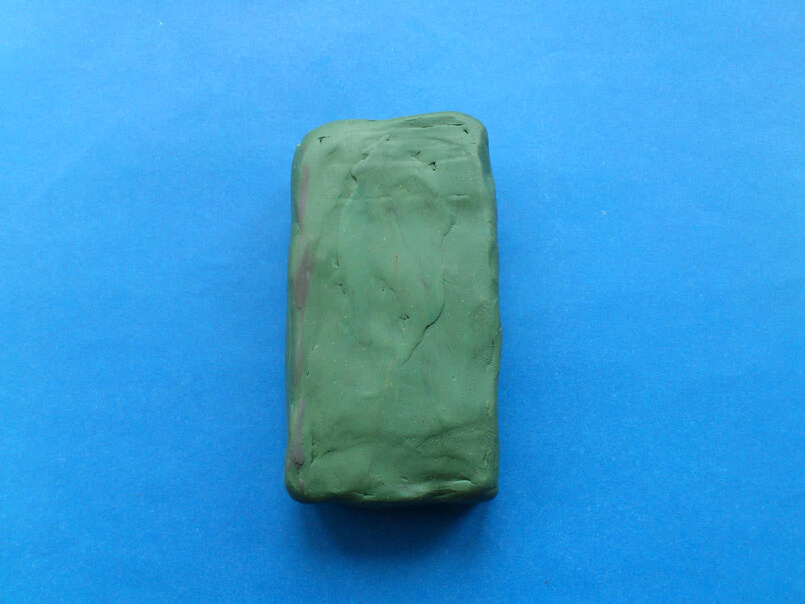
Roll a piece of black plasticine into a long sausage and flatten it into a strip. With this strip we wrap our wheels around. You can slightly raise the outer wheels to show the tank in motion. On the finished part of the caterpillar, you can apply cross-strokes with a stack..

We sculpt the base and the tower
For the main part of the tank, we need a large piece of plasticine or a matchbox wrapped in green plasticine. You can complicate the part a little by bevelling its front and back surfaces, like a trapezoid.

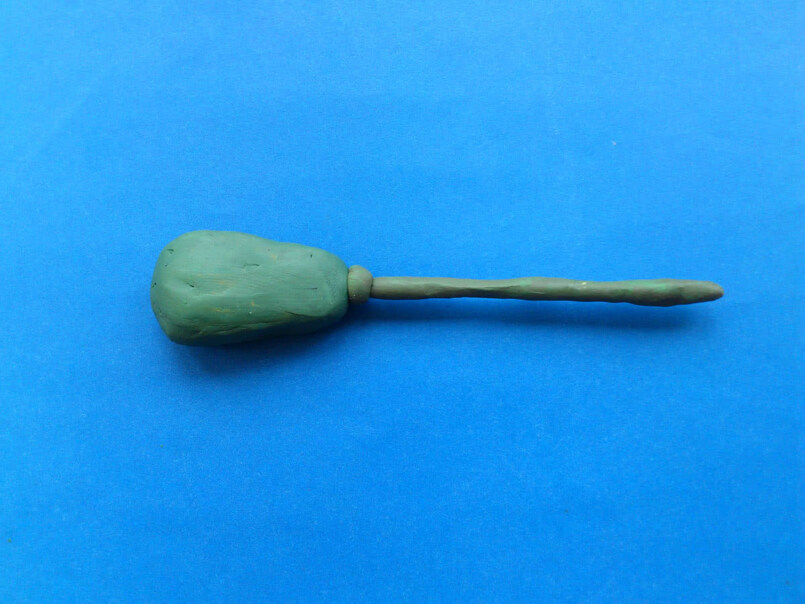
Wrap the bottle cap with a plasticine cake or roll a ball out of green plasticine. It needs to be flattened a little and the “nose” pulled out. We attach the tower to the base of the tank. We attach ready-made caterpillars to the base on both sides. From a piece of green plasticine we sculpt a long, rather thick, muzzle sausage. To make the barrel more durable, you can wrap a toothpick, match or straw with plasticine..

Finishing touches
We cut a hatch on the tower with a stack. A rectangular piece can be added behind the tower – a fuel tank. And a small red star on the tower will complete our plasticine tank.




Helpful hints and tips
The plasticine sculpting technique is quite simple and suitable even for the smallest craftsmen. It is possible that the child will not be able to make the perfect craft the first time, this is normal and natural. Over time, he will gain experience and all the necessary skills, his models will be realistic and have a high level of skill.
Tips for Beginners:
- For modeling, it is advisable to choose only domestic plasticine. It has good quality and all the necessary properties.
- The tank must have a dull palette, so use camouflage and mix colors.
- For greater flexibility and elasticity, plasticine is heated with hot water or air.
- If it starts to stick too much to your hands, and it becomes difficult to work with it, then it needs to be cooled..
- It is important to consider that over time, parts harden and become stronger..
- For very young children, floating varieties of plasticine are used. It is easy to sculpt various figures and details from them. Products made from such material are short-lived, but they allow the child to develop modeling skills..
Making crafts from plasticine is a creative and exciting process that does not depend on the age of the master. Both a child and an adult can have such a hobby. Professionals and craftsmen of this direction make real works of art from plasticine. They compete with each other and periodically arrange exhibitions of their works. And in fact, making a tank, an airplane or any military vehicle is not difficult at all, you just need to have the desire and free time.
Photo of plasticine tanks


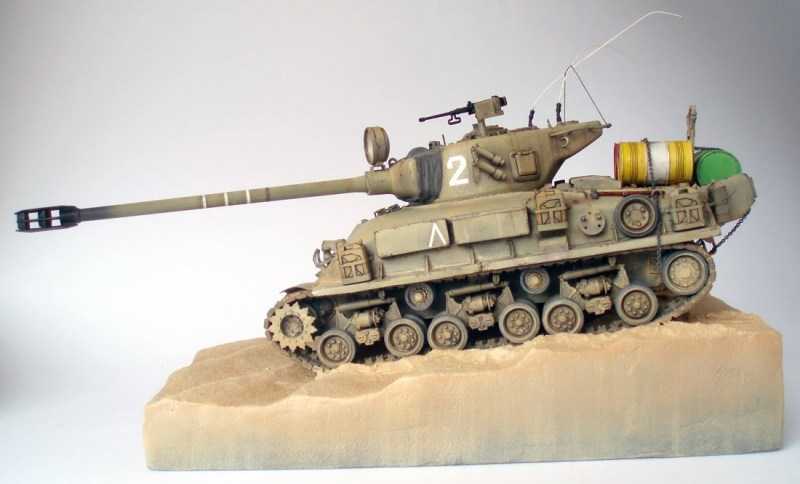


Photo of the idea of homemade tanks


